How to Use Weebly: All You Need to Know (No Tech Headaches Required)
Let me tell you a quick story. Three years ago, I couldn’t build a website to save my life. Every time I opened WordPress, I felt like I needed a computer science degree. Then, someone pointed me to Weebly. Honestly? I laughed. “A drag-and-drop builder? That sounds like a toy,” I thought. But then, I actually tried it. And guess what? I built my first full site in under two hours.
Now, I want to walk you through exactly how to use Weebly. Then, I won’t bury you in jargon or robotic instructions. Instead, I’ll show you the real, human way to create a stunning site—from scratch.
So, grab a coffee. Let’s dive in.
First Things First: What Exactly is Weebly?
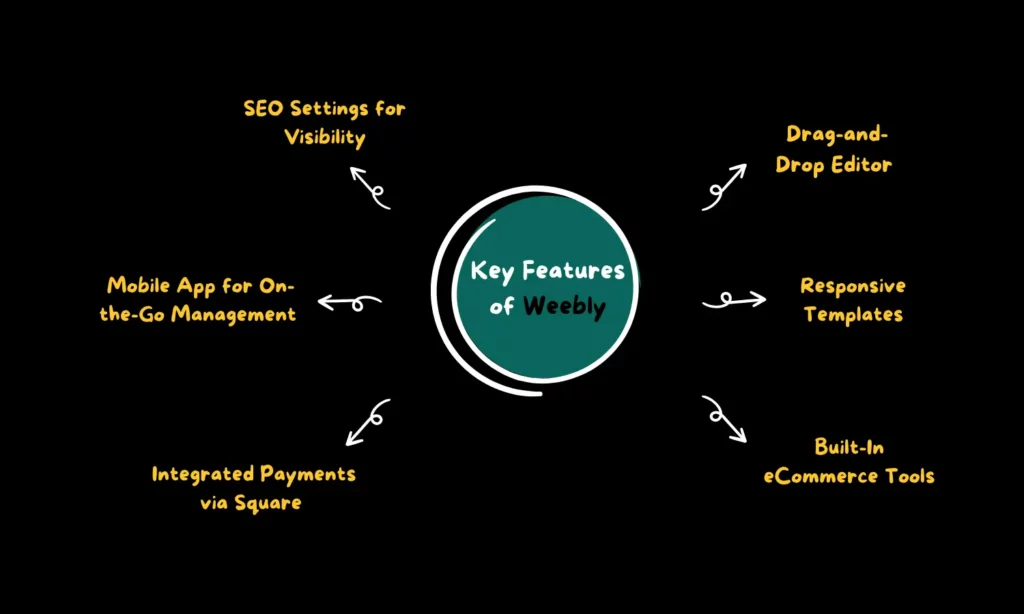
Before we touch any buttons, let’s clarify what Weebly actually is. Weebly is a website builder. But unlike coding everything by hand, Weebly lets you see your site as you build it. Then, you pick an element, you drag it, and drop it. That’s it.
Additionally, many people confuse Weebly with a blogging platform only. However, you can use it for online stores, portfolios, business landing pages, or even wedding invitations. Consequently, Weebly appeals to absolute beginners and small business owners alike.
Here’s the best part: Weebly handles all the behind-the-scenes tech stuff. You don’t buy hosting separately. Then, you don’t update software. Then, you design. For that reason alone, I recommend Weebly to anyone who feels overwhelmed by other platforms.
If you want to read about Wix or Bluehost, which one is better, click here.
Signing Up: Your First 60 Seconds
Ready to start? Go to Weebly’s website. Click the big “Get Started” button. Weebly asks for your name, email, and a password. Alternatively, you can sign up with Google or Facebook. I recommend using your email, though, because it keeps your account separate from social media.
Next, Weebly asks: “What kind of site do you want to build?” You see options like Business, Portfolio, Blog, or Personal. Pick whatever feels right. Don’t stress over this choice. You can change everything later. After that, Weebly sends a confirmation email. Click the link inside it. Boom. You have an account.
Notice how Weebly never asks for your credit card yet. That’s intentional. They want you to play around first. So, take advantage of that free trial.
Choosing a Theme: Don’t Overthink It
Now comes the fun part. Weebly presents a library of themes. These themes are pre-designed templates. Some look modern. Others look classic. My advice? Pick a theme that matches your industry. For example, if you sell candles, choose a clean, airy theme. If you run a gym, go bold and dark.
Additionally, here is a secret: Do not fall in love with your theme. Why? Because you can swap themes later without losing your content. Many beginners freeze up here. They spend hours comparing fonts. Stop that. Just pick one that feels 80% right. Then, move on.
Transitioning to the editor, click “Choose” on your selected theme. Weebly immediately launches its drag-and-drop editor. This editor is your playground.
The Editor Weebly: Where Magic Happens
Let me describe the editor screen. On the left side, you see a vertical toolbar. This toolbar contains all the building blocks: Text, Images, Galleries, Buttons, Spacers, and Maps. Then, in the middle, you see a live preview of your website. At the top, you find options for Pages, Design, and Settings.
Here’s how you use it: Firstly, click on an element from the left toolbar. Secondly, drag it over to the middle section. Thirdly, release your mouse button. Then, Weebly drops the element onto your page. Then, you click directly on that element to edit it. Want to change “Your Title Here” to “John’s Bakery”? Click and type. Want to swap a stock photo for your own? Click the image, then upload yours.
For instance, last week I built a landing page for a friend’s dog walking business. I dragged a Hero Image block to the top. I typed “Paws & Relax” over it. Then, I dragged a Button block right below. I changed the button text to “Book Now.” The whole process took four minutes. Seriously.
Additionally, you can rearrange elements instantly. Hover over any block. Then, you see a tiny crosshair icon. Drag that block up or down. Release it. The page updates live. You don’t save anything manually. Weebly auto-saves every change. That feature alone saves me countless headaches.
Building Your First Page on Weebly: A Step-by-Step Walkthrough
Let’s build a real page together. Assume you want an “About Me” page.
Firstly, click the “Pages” tab at the top. Then, click “Add Page.” Type “About Me” as the page name. Hit save.
Now, drag a “Text” element onto the blank page. Type your story. Keep it human. Write, “I started baking cookies in my tiny apartment kitchen…” Not, “Our mission is to leverage synergistic confections.” See the difference?
Next, drag an “Image” element next to your text. Upload a real photo of yourself. People connect with faces, not stock art.
After that, drag a “Spacer” element. Spacers add breathing room between sections. Without spacers, your page looks cluttered. Then, add a “Button” at the bottom. Change the button label to “Contact Me.” Link that button to your email or a contact form.
Finally, preview your page. Click the “Preview” icon in the top bar. Weebly shows you exactly how visitors see your site. If anything looks crooked, go back and adjust it.
See how active that process feels? You aren’t waiting for code to compile. Then, you aren’t refreshing browsers. You drag, type, and click.
Adding a Blog: Yes, You Need One
Many people ignore the blog feature. That’s a mistake. Blogs help you rank on Google. They also give visitors a reason to return. So, let’s activate yours.
Go to “Pages” again. Look for the “Blog” option. Weebly automatically creates a blog page. Click on it. Then, click “New Post.” Give your post a catchy title. For example, “5 Mistakes I Made When Starting My Etsy Shop.”
Write your content directly in the editor. Use short paragraphs. Break up text with subheadings. Add at least one image per 300 words. Most importantly, write as you talk. If you wouldn’t say it aloud, don’t type it.
After finishing, add “tags” to your post. Tags like “small business tips” or “beginner baking” help people find you. Then, schedule your post for a future date. Weebly lets you queue up content for weeks. Consequently, you never miss a publishing deadline.
Setting Up an Online Store: Surprisingly Simple
Maybe you want to sell products. Weebly handles that too. However, you need a paid plan for store features. Once you upgrade, click “Store” in the top menu.
Add your first product. Click “Add Product.” Upload up to five images per product. Write a description that answers customer questions. For instance, instead of “Blue candle,” write “Hand-poured soy candle with lavender scent. Burns for 40 hours.”
Set a price. Choose a shipping weight. Then, decide if you charge tax. Weebly integrates with Square, Stripe, and PayPal. So, you accept credit cards immediately.
But wait—what about inventory? Click “Inventory” and enter how many you have in stock. When you sell your last one, Weebly automatically hides the “Buy” button. That prevents overselling. Believe me, customers appreciate that honesty.
Furthermore, you can add coupon codes. Go to “Marketing” then “Coupons.” Create a “WELCOME10” code for 10% off. Share that code on social media. Watch your first sales roll in.
Customizing Your Site Settings: Don’t Skip This
Newbies often skip the Settings tab. That’s a huge error. Settings control your domain name, SEO, and contact forms.
Firstly, change your domain. Instead of “yourname.weebly.com,” buy a custom domain like “yourname.com.” Weebly sells domains directly. Alternatively, you can connect one from GoDaddy or Namecheap.
Secondly, edit your SEO settings. SEO stands for search engine optimization. For each page, write a meta description. This description appears under your link on Google. Then, keep it under 160 characters. Include your main keyword naturally. For example, “Handmade leather wallets for men. Free shipping over $50.”
Thirdly, set up your contact form. Drag a “Form” element onto your Contact page. Then, add fields for Name, Email, and Message. Then, go to Settings > Notifications. Enter your email address. Now, every time someone fills out the form, Weebly emails you. No coding required.
Publishing Your Site: The Moment of Truth
You’ve built everything. Now what? Click the blue “Publish” button in the top right. Weebly asks, “Are you sure?” Click yes. Within 30 seconds, your site goes live.
But don’t celebrate yet. First, test everything on your phone. Open your phone’s browser. Type your website address. Tap every button. Fill out your contact form. Then, add a product to your cart. Why? Because over 60% of web traffic comes from mobile devices. If your site looks broken on a phone, you lose customers.
If something looks off, go back to the editor. Click the tablet or phone icon at the top of the preview. Weebly shows you the mobile view. Drag elements up or down until they fit. Then republish.
Maintaining Your Site: Small Habits, Big Results
Building the site is only half the battle. You need to maintain it. Every week, log in to Weebly for 15 minutes. Update your blog. Swap out old photos. Check that your contact form still works. Delete spam comments if you have a blog.
Additionally, update your plugins. Weebly calls them “Apps.” Go to the App Center. Update any apps you installed. Outdated apps slow down your site. Slow sites lose visitors.
Finally, renew your domain yearly. Set a calendar reminder. If your domain expires, someone else could buy it. Don’t let that happen.
Frequently Asked Questions (FAQ)
Q1: Is Weebly really free?
Yes, but the free plan shows Weebly ads on your site. You also get a subdomain (yourname.weebly.com). For a professional look, upgrade to a paid plan starting around $10 per month.
Q2: Can I switch from Weebly to WordPress later?
You can, but it’s not a one-click move. You’ll manually copy your content. For that reason, decide early which platform fits your long-term goals.
Q3: Does Weebly handle backups automatically?
Yes, Weebly backs up your site daily. However, I still recommend exporting your site once a month. Go to Settings > Export. Save that file to your computer.
Q4: How do I add a video background?
Drag a “Video” element onto your page. Paste a YouTube or Vimeo link. Weebly embeds it instantly. Then, go to the video settings and check “Loop video.” That creates the background effect.
Q5: Why does my site load slowly?
You likely uploaded huge image files. Resize your images before uploading. Use a free tool like TinyPNG. Keep each image under 500KB. Then, delete old unused images from your Weebly dashboard.
Q6: Can I add custom HTML or CSS?
Absolutely. Weebly includes an “Embed Code” element. Drag it onto your page. Paste your custom code there. For global CSS changes, go to Theme > Edit HTML/CSS. But be careful—one wrong line can break your design.
Q7: How do I talk to a real human at Weebly support?
Paid plan users get live chat and phone support. Free users rely on the help center. Honestly, the help center answers 95% of questions. Search your issue before you email them.
Final Thoughts: Stop Waiting, Start Building
Look, I get it. Starting a website feels scary. You worry about looking amateur. You stress over technical failures. But here is the truth I learned: Done is better than perfect.
Weebly removes every technical excuse. Then, you don’t need coding skills. You don’t need a big budget. You need 90 minutes and a clear idea.
So, firstly, open a new tab. Secondly, go to Weebly. Thirdly, sign up for free. Thirdly, drag a picture onto a blank page. Then, type a sentence that matters to you. Finally, click publish. That single click changes everything.
And when your first visitor leaves a comment or buys a product? You’ll smile. Because you built that. Not some expensive agency. Not a confusing developer. You.
Now go build something awesome. Then, come back here and tell me what you created. I genuinely want to know.