The HP OfficeJet Pro 8020 is a versatile all-in-one printer that offers wireless printing, scanning, copying, and faxing capabilities. Setting it up for wireless use can seem daunting, but with a clear guide, you’ll be printing in no time. This blog will walk you through the essential steps to connect your HP 8020 printer to your Wi-Fi network and utilize its features effectively.
Getting Started of HP 8020 printer
Before diving into the setup process, ensure you have everything ready:
- Printer: Firstly, your HP OfficeJet Pro 8020 is unpacked and placed near your Wi-Fi router.
- Wi-Fi Network: Secondly, Know your Wi-Fi network name (SSID) and password.
- Devices: Thirdly, Have your computer, smartphone, or tablet handy for installation.
Step 1: Power On the HP 8020 printer
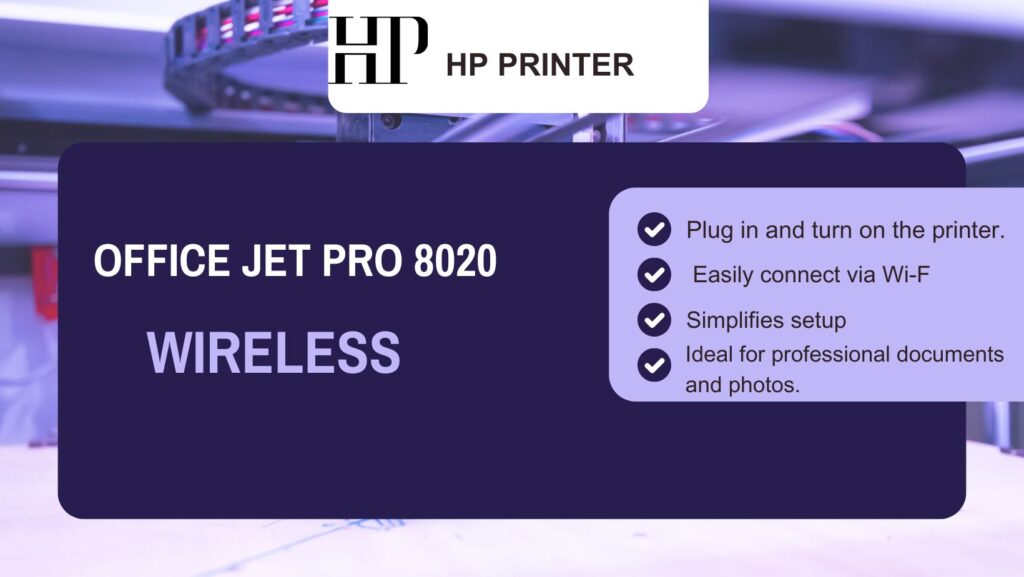
Begin by plugging in your printer. Press the power button to turn it on. Wait for the printer to initialize completely. You’ll see the home screen on the touchscreen display.
Step 2: Access the Wireless Settings of the HP 8020 printer
- Touch the Settings Icon: On the printer’s touchscreen, find and tap the settings icon.
- Select Network Setup: Scroll down and select “Network Setup.”
- Choose Wireless Settings: Tap on “Wireless Settings” to access various options.
Step 3: Use Wireless Setup Wizard
- Select Wireless Setup Wizard: This option will help you find and connect to your Wi-Fi network.
- Search for Networks: The printer will search for available networks within range. This might take a moment.
- Choose Your Network: Once your network appears on the list, select it.
Step 4: Enter Your Wi-Fi Password
Now, enter your Wi-Fi password using the touchscreen keyboard. Be careful with capitalization and special characters; they must match exactly.
- Confirm Connection: After entering the password, tap “OK.” The printer will attempt to connect.
- Check Connection Status: A blue wireless light will illuminate if the connection is successful.
Step 5: Print a Wireless Test Report
To ensure everything is set up correctly:
- Access Network Settings Again: Go back to “Wireless Settings.”
- Select Print Wireless Test Report: This report will confirm whether your printer is connected properly.
Connecting Devices for Printing
Once your printer is connected to Wi-Fi, you can easily connect it to various devices.
For Windows Computers
- Open Control Panel: Go to “Devices and Printers.”
- Add Printer: Click on “Add a printer.” Your HP 8020 should appear in the list.
- Follow Prompts: Select it and follow any additional prompts to complete the installation.
For Mac Computers HP 8020 printer
- Open System Preferences: Click on “Printers & Scanners.”
- Add Printer: Click the “+” button to add a new printer.
- Select Your Printer: Choose HP OfficeJet Pro 8020 from the list and click “Add.”
For Mobile Devices (iOS/Android)HP 8020 printer
- Download HP Smart App: Available on both the iOS App Store and Google Play Store.
- Open App and Add Printer: Follow the prompts within the app to find and connect to your printer.
- Print from Your Device: You can now print photos or documents directly from your mobile device.
Utilizing Advanced Features of HP 8020 printer
The HP OfficeJet Pro 8020 comes packed with features that enhance productivity.
Mobile Printing Options for HP 8020 printer
- HP ePrint: Firstly, Send documents directly to your printer from anywhere via email.
- Apple AirPrint: Secondly, Print directly from Apple devices without needing additional drivers.
- Google Cloud Print: Then, Print from any device connected to Google services.
if you want to read Open-Ear Headphones Click Here
Scanning and Copying
- Scanning Documents:
- Firstly, Place your document face down on the scanner glass.
- Secondly, Use the touchscreen to select “Scan,” then choose where you want to save it (e.g., email or cloud storage).
- Copying Documents:
- Firstly, Place the document as you would for scanning.
- Secondly, Select “Copy” from the home screen and choose color or black-and-white options.
Faxing Capabilities
If you need to send a fax:
- Firstly, Load the document into the automatic document feeder (ADF).
- Secondly, Select “Fax” from the home screen.
- Thirdly, Enter the recipient’s fax number and press “Send.”
Troubleshooting Common Issues
Even with a reliable printer like the HP OfficeJet Pro 8020, issues may arise occasionally.
Printer Not Found
- Firstly, Ensure both your printer and device are connected to the same Wi-Fi network.
- Then, Restart both devices if necessary.
Poor Print Quality
- Additionally, Check ink levels through the touchscreen interface.
- Then, Run a printhead cleaning cycle via settings if prints are streaky or faded.
Connection Problems
- Moreover, If you experience connectivity issues, try moving closer to your router during setup.
- Finally, Resetting network settings on the printer may also help resolve persistent problems.
Conclusion
Following these steps makes setting up your HP OfficeJet Pro 8020 for wireless printing straightforward. With its robust features, including mobile printing options and efficient scanning capabilities, this all-in-one printer is an excellent addition to any home office or small business environment.
With its wireless functionality, you can streamline your printing tasks and significantly enhance productivity. Enjoy hassle-free printing!