Introduction to Digital Cameras
Welcome to the world of photography! Using a digital camera can be exciting and intimidating, especially if you’re new to the scene. But don’t worry, we’re here to guide you through every step of the way. Whether you’re a beginner or looking to refresh your skills, this comprehensive guide will help you master your digital camera and unlock its full potential.
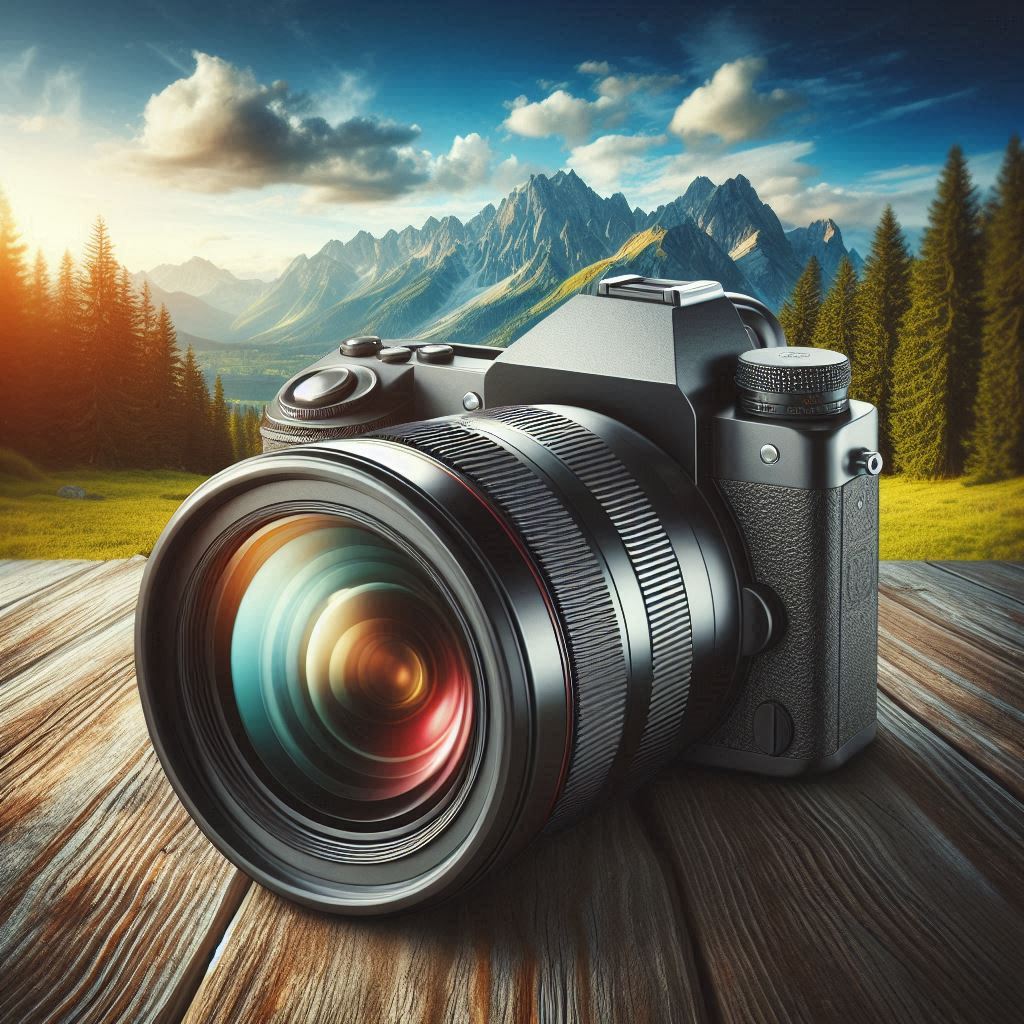
Understanding Your Camera
Before you start snapping away, let’s get familiar with the main components of your digital camera:
- Lens: This is where the magic happens. Your lens captures the light and focuses it onto the camera’s sensor. Different lenses offer different perspectives and effects, so it’s worth exploring what options are available for your camera.
- Battery: Make sure it’s charged! A dead battery can ruin a perfect photo opportunity.
- Memory Card: This is where your photos are stored. Ensure it’s not full before you head out to shoot.
- On/Off Switch: Simple but crucial. Turn it off when not in use to save battery life.
Mastering Shooting Modes of Digital Camera
Shooting modes are the heart of your camera’s functionality. They determine how your camera behaves when you press the shutter button. Here are the main modes you need to know:
- Auto Mode: Firstly, the camera does everything for you. It’s great for beginners or when you’re in a hurry.
- Program Mode (P): Secondly, Similar to Auto, but it gives you a bit more control over settings like ISO and white balance.
- Aperture Priority (A/Av): Thirdly, you set the aperture, and the camera adjusts the shutter speed.
- Shutter Priority (S/Tv): You set the shutter speed, and the camera adjusts the aperture.
- Manual Mode (M): You have full control over both the aperture and the shutter speed.
Understanding the Exposure Triangle of Digital Cameras
The exposure triangle consists of ISO, Aperture, and Shutter Speed. These three elements work together to create the perfect exposure for your photo.
- ISO: Sensitivity to light. Lower ISOs (like ISO 100) are best for bright conditions, while higher ISOs (like ISO 6400) are better for low light.
- Aperture: Controls the amount of light entering the lens and affects depth of field. A lower f-stop (like f/2.8) means a larger aperture opening.
- Shutter Speed: How long the camera’s shutter is open. Faster speeds (like 1/1000th of a second) freeze motion, while slower speeds (like 1 second) create blur.
Mastering Metering and Exposure Compensation of Digital Camera
Metering helps your camera determine the right exposure. There are different metering modes, such as Spot Metering, Center-Weighted Average Metering, and Matrix Metering. Exposure compensation allows you to adjust the brightness of your photos if they’re too dark or too bright.
Digital Camera Focusing Techniques
Focusing is crucial for sharp photos. Here are a few techniques to master:
- Auto-Focus (AF): Press the shutter button halfway to activate AF. This ensures your subject is in focus before you take the photo.
- Manual Focus (MF) is useful for situations where AF struggles, like in low light or with complex subjects.
Digital Camera White Balance and Color Settings
White balance adjusts the color temperature of your photos to match the lighting conditions. Common settings include Auto, Daylight, Shade, Tungsten, and Fluorescent. Adjusting white balance can dramatically change the mood and accuracy of your photos.
Image Size and Quality
Ensure you’re shooting at the highest resolution and quality available. If you plan to edit your photos, consider shooting in JPEG+RAW format. This gives you more flexibility during post-processing.
Holding Your Camera
Holding your camera correctly is key to avoiding blurry photos. Use both hands to grip the camera firmly, with one hand supporting the lens. This provides stability and control, especially when using the viewfinder.
Reviewing Your Photos
After taking a photo, it appears on your camera’s LCD screen. Use the playback feature to review your shots, delete any you don’t like, and navigate through your photos using the navigation buttons.
Tips for Better Photography
Here are a few tips to take your photography to the next level:
- Experiment with Different Modes: Don’t be afraid to try different shooting modes to see what works best for your scene.
- Pay Attention to Lighting: Lighting can make or break a photo. Natural light is often the best, but learn to work with artificial light, too.
- Practice, Practice, Practice: The more you use your camera, the more comfortable you’ll become with its settings and capabilities.
Conclusion
Using a digital camera is a journey, not a destination. As you become more familiar with your camera’s features and settings, you’ll start to see improvements in your photos. Remember, practice is key, so keep snapping and experimenting until you find what works best for you. Happy shooting!