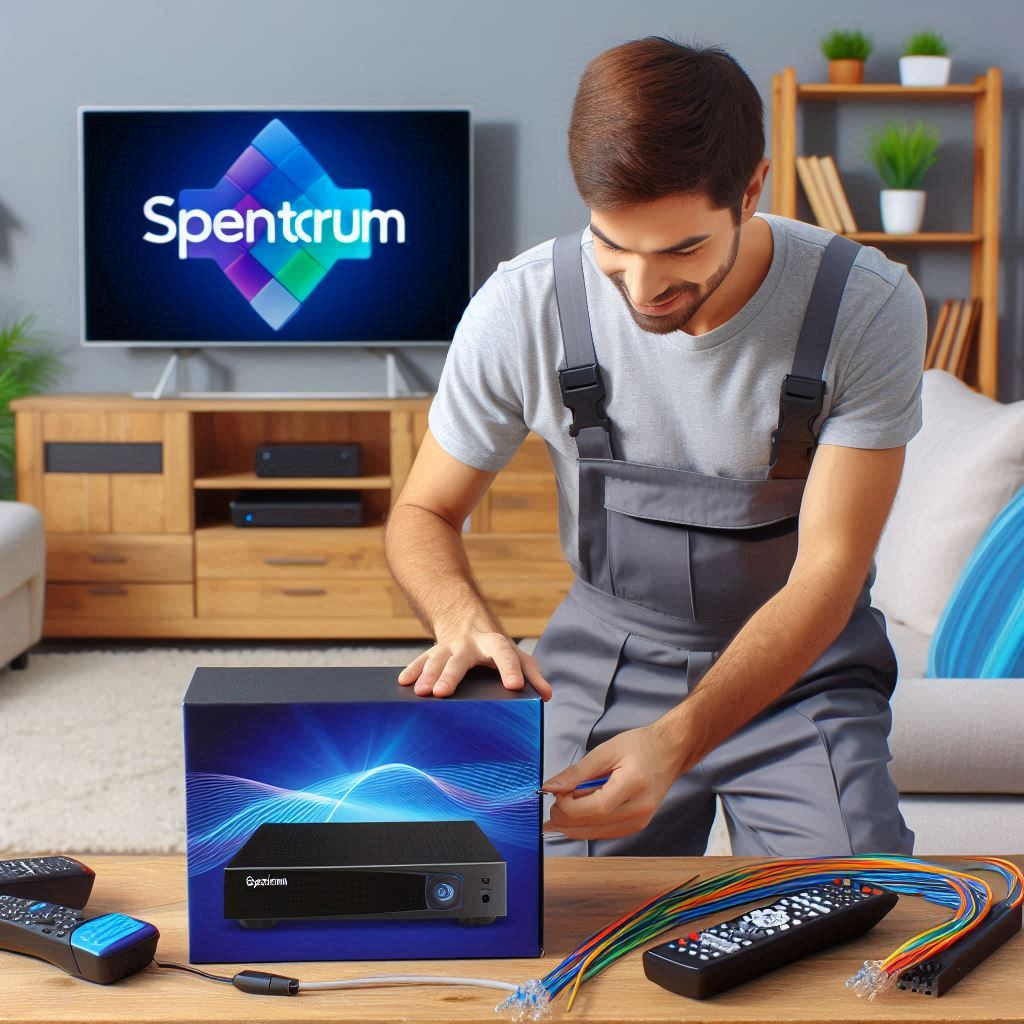
Setting up a Spectrum cable box for your TV can seem daunting but quite straightforward. In this guide, I’ll walk you through the process. By the end, you’ll be ready to enjoy your favorite shows hassle-free.

Gather Your Materials In Spectrum Cable
Before diving in, ensure you have everything you need:
- Spectrum cable box
- HDMI cable (or component cables if your TV doesn’t support HDMI)
- Coaxial cable
- Power cord
- Remote control
Having these items on hand will make the setup smoother.
Connect the Coaxial Cable
First, locate the coaxial cable. This cable connects your cable box to the wall outlet.
- Identify the cable outlet on your wall.
- Screw one end of the coaxial cable into this outlet.
- Connect the other end to the input port on your Spectrum cable box. This is usually labeled as “Cable In.”
Make sure it’s secure. A loose connection can lead to poor signal quality.
Connect the HDMI or Component Spectrum Cable
Next, you’ll need to connect your cable box to your TV.
Using HDMI
- Take your HDMI cable and plug one end into the HDMI output on your Spectrum box.
- Connect the other end to an available HDMI port on your TV.
Using Component Cables
If your TV doesn’t have an HDMI port:
- Locate the component cables (usually red, green, and blue).
- Connect these cables from the output on your Spectrum box to the corresponding colored inputs on your TV.
- Don’t forget to connect the audio cables (red and white).
Power Everything On Spectrum Cable
Now that everything is connected, it’s time to power up.
- Moreover, Plug in the power cord for the Spectrum cable box.
- Then, TV and then turn on the cable box using its remote control.
You should see a welcome screen if everything is connected correctly.
Select the Right Input Source
To view content from your Spectrum cable box, you need to select the correct input source on your TV.
- Firstly, Use your TV remote and press the Input or Source button.
- Secondly, Choose the HDMI option (if using HDMI) or select the component option if you use component cables.
This step is crucial; otherwise, you might see a blank screen.
Activate Your Cable Box
Once you’ve selected the right input, you may need to activate your Spectrum cable box.
- Firstly, Follow any on-screen prompts that appear.
- Secondly, If prompted, enter any necessary information such as account details.
- Thirdly, If you encounter issues, call Spectrum customer service for assistance.
Set Up Your Remote Control
After activation, set up your remote control for easy navigation.
- Firstly, Insert batteries into the remote.
- Secondly, Follow any instructions on-screen to pair it with your cable box.
This will allow you to change channels and access menus effortlessly.
Troubleshooting Common Issues in Spectrum Cable
Even with careful setup, issues can arise. Here are some common problems and how to fix them:
- No Signal: Firstly, Ensure all cables are securely connected and that you’ve selected the correct input source.
- Poor Picture Quality: Secondly, Check that all connections are tight and that you’re using high-quality cables.
- Remote Not Working: Thirdly, Replace batteries and ensure there are no obstructions between the remote and the cable box.
Enjoy Your Viewing Experience
Congratulations! You’ve successfully set up your Spectrum cable box. Now it’s time to explore channels, enjoy shows, and perhaps even discover new favorites.
Additional Tips
- Additionally, Keep your remote handy; it will be essential for navigating menus.
- Moreover, Regularly check for software updates for optimal performance.
- Then, Consider organizing cables with ties or clips to keep everything tidy.
By following these steps, setting up your Spectrum cable box should be a breeze. Enjoy seamless entertainment with minimal fuss!
