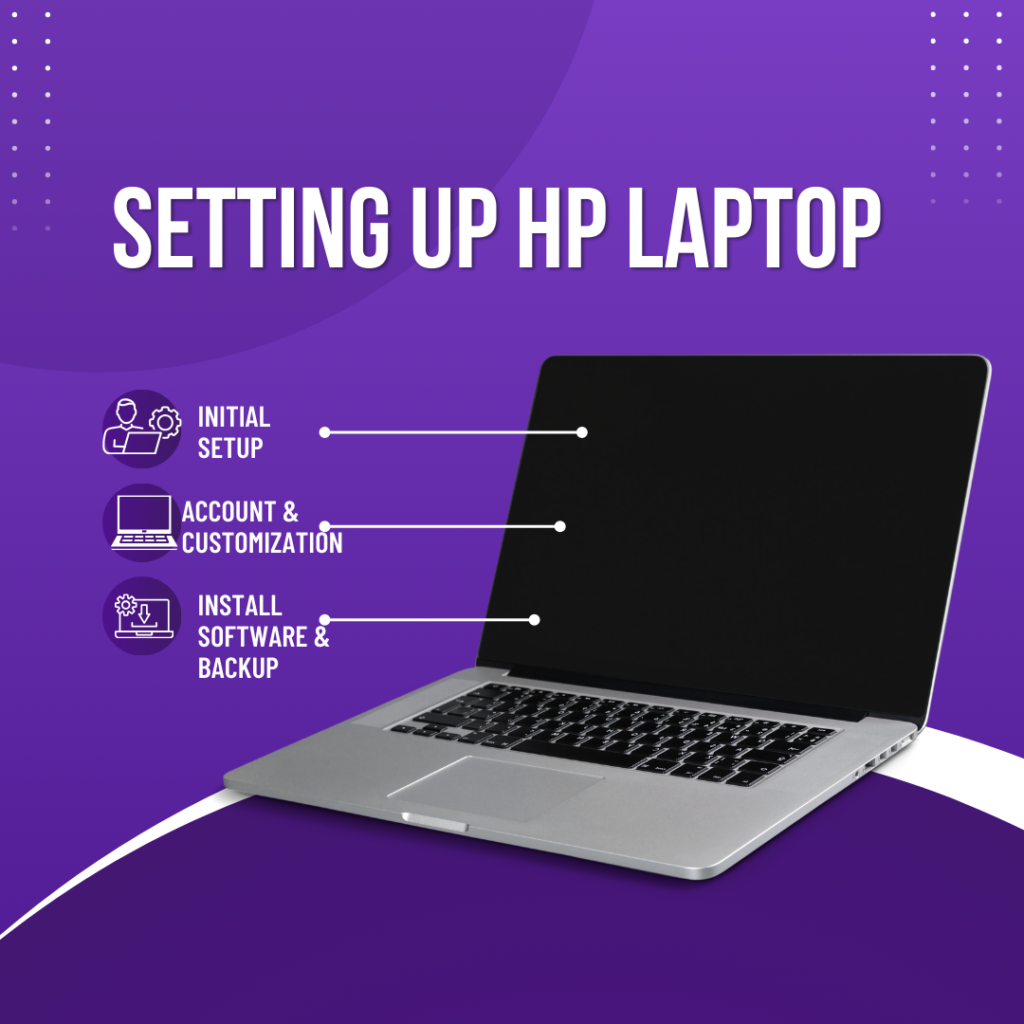
Setting up your HP laptop for the first time can be exciting yet daunting. Whether you’ve just purchased a new device or are setting up a refurbished one, knowing the steps to get started can make the process smooth and enjoyable, and walk you through the entire setup process, from unboxing to getting your laptop ready.
Unboxing Your HP Laptop
The first step begins with unboxing your new HP laptop. Carefully remove it from the packaging. Ensure you have all components, including:
- Firstly, The laptop itself
- Secondly, AC adapter and power cord
- Thirdly, Quick start guide
- then, Any additional accessories (like a mouse or carrying case)
- If you notice anything unusual, contact the retailer or HP support immediately.
Connecting the Power of HP Laptop
Once you’ve unboxed your laptop, it’s time to connect it to power. Follow these steps:
- Locate the AC Adapter: Firstly, Find the power adapter that came with your laptop.
- Plug in the Adapter: Secondly, Connect the AC adapter to your laptop’s power port.
- Connect to a Wall Outlet: Thirdly, Plug the other end of the power cord into a wall outlet.
While the battery charges, you can proceed with other setup steps. It’s best to keep your laptop plugged in during the initial setup.
Turning On Your HP Laptop
Now that your laptop is powered, it’s time to turn it on:
- Press the Power Button: Locate the power button, usually above the keyboard or on the side of the device.
- Wait for Startup: The HP logo will appear on the screen as your laptop boots up.
During this process, you may see a series of startup screens. This is normal as Windows initializes.
Choosing Your Language and Region HP Laptop
Once your laptop has booted up, you’ll need to select your preferred language and region:
- Select Language: Choose your desired language from the dropdown menu.
- Choose Region: Select your country or region for accurate settings.
These choices will affect functions, including date formats and regional settings.
Setting Up Keyboard Layout of HP Laptop
Next, you’ll configure your keyboard layout:
- Select Keyboard Layout: Choose your primary keyboard layout (e.g., US English).
- Optional Second Keyboard: If you use a second keyboard layout, select it here; otherwise, skip this step.
This ensures that typing is comfortable and intuitive right from the start.
Connecting to Wi-Fi of HP Laptop
A stable internet connection is crucial for completing setup and downloading updates:
- Select Your Network: From the list of available networks, choose a Wi-Fi network.
- Enter Password: Input your network security key (Wi-Fi password) and click “Connect.”
Once connected, your laptop will check for updates automatically.
Accepting License Agreement
After connecting to Wi-Fi, you’ll be prompted to accept Microsoft’s license agreement:
- Read Terms: Additionally, Take a moment to read through the terms.
- Accept: Then, Click “Accept” to proceed with setup.
This step is essential to ensure compliance with software usage policies.
Setting Up Your Microsoft Account
Next, you’ll set up or sign in to a Microsoft account:
- Sign In: Moreover, If you already have an account, enter your credentials.
- Create a New Account: Then, If not, follow the prompts to create a new Microsoft account.
Microsoft account allows access to various services like OneDrive and Microsoft Office.
Configuring Login Options
Windows allows several login options for security:
- Choose Login Method: You can opt for a password, PIN, or biometric options like fingerprint recognition.
- Set Up Security Questions: If using a password or PIN, set up security questions for account recovery.
These options enhance security while keeping access convenient.
Customizing Your Device
After setting up login options, you can customize how Windows looks and feels:
- Choose Themes: Select from light or dark themes based on your preference.
- Adjust Privacy Settings: Review privacy options and adjust them according to comfort levels regarding data sharing.
Customization enhances user experience and makes your device feel more personal.
Installing Updates
Once the initial setup is complete, Windows will check for updates:
- Download Updates: Allow Windows to download and install any available updates.
- Restart if Necessary: Your laptop may restart during this process; follow prompts as needed.
Keeping your system updated ensures optimal performance and security.
Setting Up Additional Features
After updates are installed, consider setting up additional features:
- Cortana Setup: If desired, set up Cortana (the virtual assistant) by following the prompts.
- Windows Hello Configuration: configure facial recognition or fingerprint login for quick access.
These features enhance functionality and make using your laptop more enjoyable.
Installing Software Applications
Now that Windows is set up and updated, it’s time to install the necessary software applications:
- Pre-installed Software: Check if any applications came pre-installed on your device.
- Install Additional Programs: Use Microsoft Store or download software from trusted websites as needed (e.g., browsers, productivity tools).
Installing essential applications prepares your laptop for daily tasks.
Connecting Peripherals
If you have additional devices like printers or external drives:
- Connect via USB or Bluetooth: Plug in USB devices directly or pair Bluetooth devices through settings.
- Install Drivers if Necessary: Some peripherals may require driver installation; follow prompts if needed.
Connecting peripherals enhances functionality and allows greater productivity.
Backing Up Your Data
To protect against data loss in case of issues:
- Set Up Backup Options: Use Windows Backup or third-party software to create backups regularly.
- Consider Cloud Storage: Services like OneDrive offer convenient cloud backup solutions.
Regular backups provide peace of mind knowing that important files are secure.
Final Touches
Before diving into daily use of your HP laptop:
- Explore Settings: Take some time to explore settings and personalize them further according to your preferences.
- Familiarize Yourself with Features: Learn about features like touch gestures (if applicable) and shortcuts that enhance usability.
Getting comfortable with settings makes using your laptop more efficient over time.
Conclusion
Setting up an HP laptop doesn’t have to be overwhelming. By following these steps—from unboxing to connecting peripherals, you can ensure a smooth start with your new device. Take advantage of customization options and keep your system updated for optimal performance. Enjoy exploring all that your new HP laptop has to offer!