Programming Motorola radios may seem complex at first, but with the right guidance, you can navigate the process easily. Whether you have a CLS Series, RDU, or CP200 model, this blog will walk you through the necessary steps to program your device effectively.
To begin, gather your equipment. You’ll need your Motorola radio, a programming cable, and a computer with the appropriate programming software. Ensure that the software is compatible with your specific radio model. For many models, this software is available for download online on a CD.
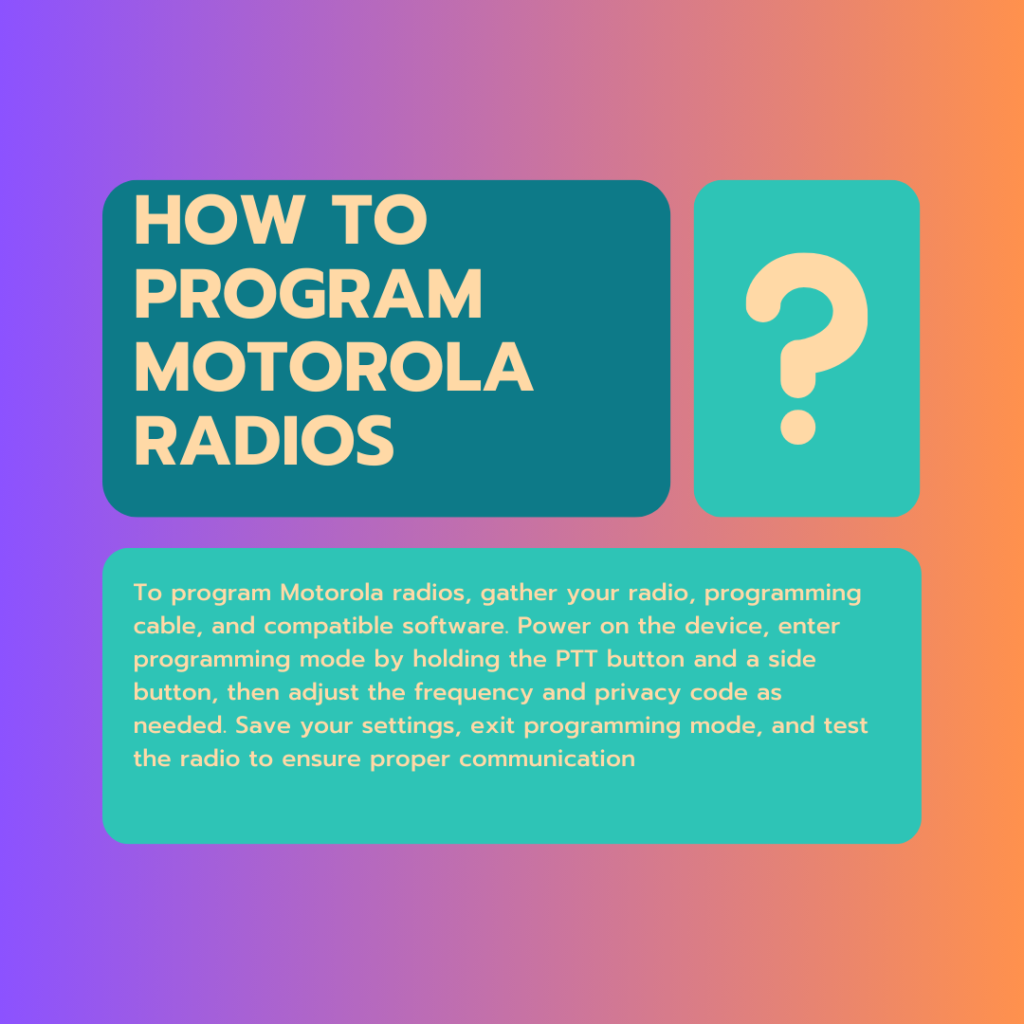
Entering the Programming Mode of Motorola Radios
First, turn on your radio. To enter programming mode, press and hold the Push-to-Talk (PTT) button and a designated side button simultaneously while powering on the device. For instance, on the RDU series, press the PTT button and Side Button 1 until you hear a chirping sound or see a blinking green LED. This indicates that you have successfully entered programming mode.
Changing Frequency Settings of Motorola Radios
Once in programming mode, navigate to the frequency setting. Use the menu button to cycle through options until you reach the frequency menu. Depending on your model, you may need to use the channel selector knob to choose which channel you want to program. Once selected, adjust the frequency using the plus and minus buttons until you reach your desired setting.
Setting Privacy Codes of Motorola Radios
After setting the frequency, you may want to configure privacy codes. These codes help keep your communications secure by preventing others from listening in. Again, use the menu button to navigate to the privacy code setting. Adjust it using the plus and minus buttons to select your desired code.
Adjusting Other Settings
Depending on your radio model, there may be additional settings you can adjust. For example, on some RDU models, you can change call tones or adjust mic gain settings for better audio clarity. Use the menu button to access these features and make adjustments as necessary.
Saving Your Settings
Once you have made all desired changes, it’s crucial to save your settings. On most models, this involves pressing and holding the PTT button until you hear a confirmation beep. This step ensures that all your changes are stored in the radio’s memory.
Exiting Programming Mode
To exit programming mode, simply turn off your radio or press a designated button combination specific to your model. Always check that your settings have been saved before turning off the device to avoid losing any configurations.
Testing Your Radio
After programming your Motorola radio, conduct a test to ensure everything works as intended. Communicate with another user on the same channel and frequency to confirm that both radios are functioning correctly.
Troubleshooting Common Issues
If you encounter problems during programming, ensure that:
- You are using compatible software for your specific radio model.
- The programming cable is securely connected.
- You have followed each step carefully.
If issues persist, consult your user manual or seek assistance from Motorola’s customer support for detailed troubleshooting steps.
Conclusion
Programming Motorola radios may initially seem challenging, but by following these straightforward steps, you can customize your device for effective communication.
Whether for work or recreational use, mastering these settings will enhance your overall experience with Motorola radios.
Remember to keep your programming software updated and refer back to this guide whenever needed. Happy communicating!