How to Build a Retro Gaming Console: A Step-by-Step Guide
Hey there, fellow gamer! If you’re like me, you probably have some fond memories of playing classic games from the ’80s and ’90s. Imagine reliving those moments with your very own retro gaming console! In this guide, I’ll walk you through the steps to build one. It’s easier than you might think, and I promise it’ll be a fun project. Let’s dive in!
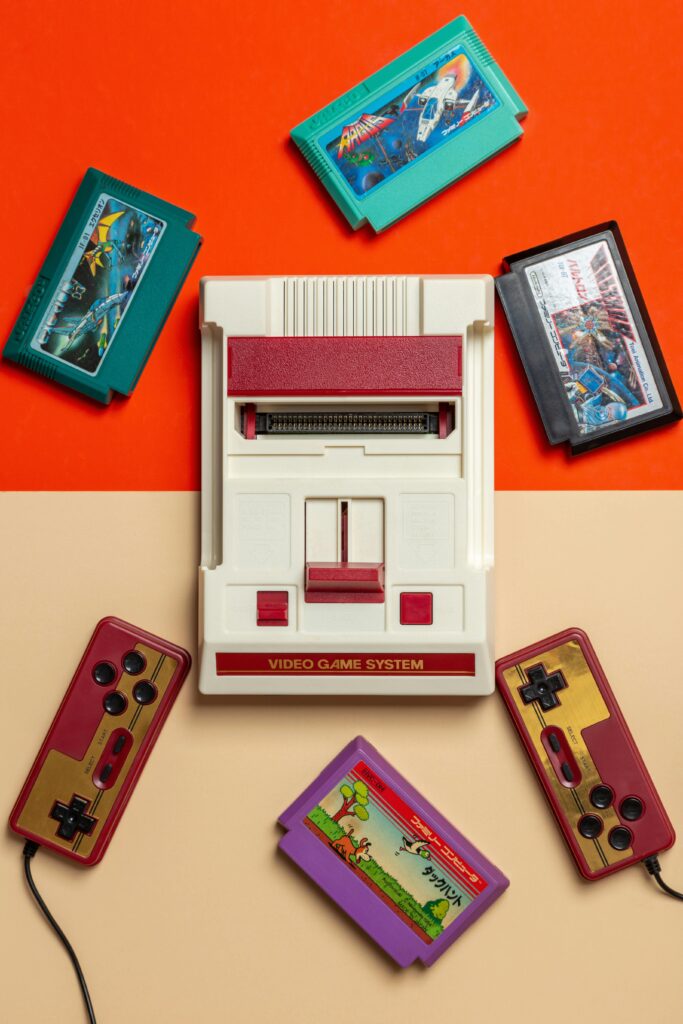
What You’ll Need about Retro Gaming
Before we get started, let’s gather our materials. Here’s a quick list of what you’ll need:
- Firstly, Raspberry Pi (any model from Raspberry Pi 2 onward works great)
- Secondly, MicroSD Card (at least 16GB)
- Thirdly, the Power Supply for the Raspberry Pi
- Fourthly, HDMI Cable to connect to your TV
- Additionally, USB Controllers (you can find retro-style ones online)
- Then, Case for your Raspberry Pi (optional, but recommended)
- Moreover, RetroPie software (free to download)
- Finally, Keyboard (for initial setup)
With everything on hand, we’re ready to roll!
Step 1: Set Up Your Raspberry Pi
First things first, let’s prepare the Raspberry Pi.
- Download RetroPie: First, Head over to the official RetroPie website and download the latest version for your Raspberry Pi model.
- Flash the Image: Secondly, Use software like Balena Etcher or Raspberry Pi Imager to flash the RetroPie image onto your MicroSD card. Just select the downloaded image file and choose your MicroSD card. Click “Flash” and wait for it to finish.
- Insert the MicroSD Card: Additionally, Once done, pop the MicroSD card into your Raspberry Pi.
- Connect Everything: Then, Plug in your HDMI cable to your TV and connect the power supply to your Raspberry Pi. Don’t forget to attach your USB controllers!
- Boot It Up: Finally, Power on your Raspberry Pi. You should see the RetroPie splash screen. If everything goes smoothly, you’re on your way!
Step 2: Configure Your Controllers of Retro Gaming
Now that you’ve booted up RetroPie, it’s time to set up your controllers.
- Initial Setup: Firstly, Follow the on-screen prompts to configure your USB controllers. It’ll ask you to press buttons on each controller—follow along.
- Test Your Controllers: Secondly, After configuration, check if all buttons are working properly. This step is crucial for a smooth gaming experience later on.
Step 3: Add Games in Retro Gaming
Here comes the fun part—adding games! But remember, you should only use ROMs for games that you own legally.
- Access the RetroPie Menu: Press “Start” on your controller and navigate to the “RetroPie” menu.
- Transfer ROMs: There are several ways to add ROMs:
- USB Method: Create a folder named “re tropie” on a USB stick. Plug it into your Raspberry Pi, and it will create the necessary folders. Remove it and add your ROMs into the “roms” folder on the USB stick. Plug it back into the Raspberry Pi, and it will transfer them automatically.
- SFTP Method: If you’re comfortable with networking, you can use an SFTP client like FileZilla to transfer files directly over Wi-Fi.
- Refresh Your Games List: Return to the RetroPie menu after adding ROMs and select “Quit.” Choose “Restart EmulationStation” so it recognizes your new games.
Step 4: Customize Your Experience with Retro Gaming
Now that you have games loaded up, let’s make it feel more personal!
- Themes and Artwork: Go into the RetroPie menu and explore themes under “UI Settings.” You can change how everything looks with just a few clicks.
- Game Metadata: You can also add box art and descriptions for each game by using tools like Skyscraper or ES-Theme-Switcher.
- Overclocking (Optional): If you want better performance for certain games, consider overclocking your Raspberry Pi through the configuration settings. Just be cautious—too much heat can cause issues!
Step 5: Start Gaming!
You’re all set! Now it’s time for some serious gaming.
- Select a Game: Navigate through your game library using your controller.
- Enjoy! Dive into those nostalgic worlds and enjoy every pixel of retro goodness.
- Save Your Progress: Remember, many emulators allow you to save states! Make use of this feature so you can pick up right where you left off.
Troubleshooting Tips
Sometimes things don’t go as planned—don’t worry! Here are some common issues and how to fix them:
- Controller Not Recognized? Double-check connections and restart RetroPie.
- The game Won’t Load? Ensure that the ROM is compatible with the emulator you’re using.
- Performance Issues? Try lowering video settings in the configuration menu or consider overclocking if you’re comfortable.
Conclusion
Building a retro gaming console is not just about playing old games; it’s about reviving memories and sharing experiences with friends and family. Plus, it’s a great way to learn more about technology along the way!So grab those controllers, invite some friends over, and get ready for an epic gaming session! Whether you’re battling through pixelated worlds or racing against time in classic arcade games, this little project will surely bring joy into your life.