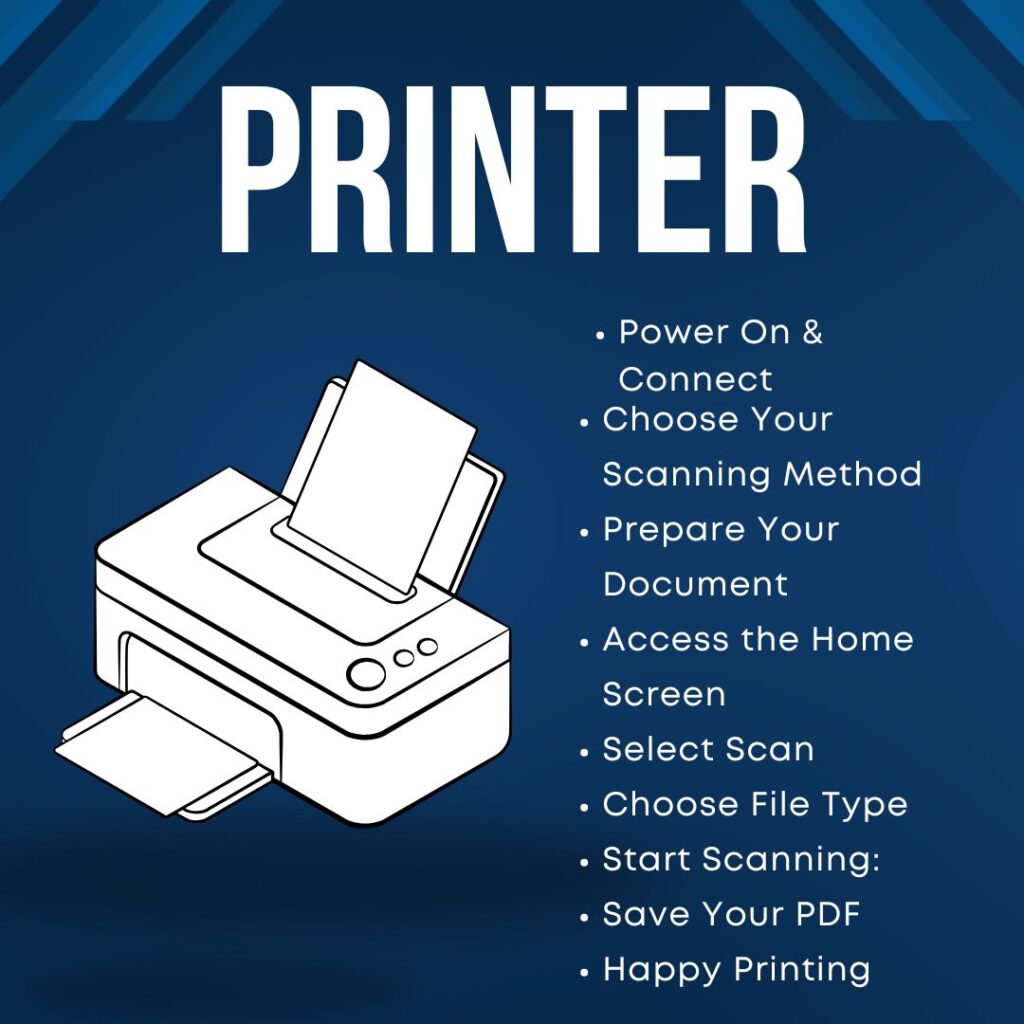
The HP OfficeJet Pro 8020 is a remarkable all-in-one printer that simplifies many tasks, including scanning documents to PDF. Whether you’re digitizing important papers for work or archiving family memories, this printer makes the process seamless. In this blog, we’ll walk you through how to scan to PDF using your HP 8020 printer wirelessly. We’ll cover everything from setup to troubleshooting, ensuring you have all the information you need.

Getting Started with Your HP 8020
Before scanning, let’s ensure your printer is set up correctly. First, your HP OfficeJet Pro 8020 is powered on and connected to your Wi-Fi network. If you haven’t set it up yet, follow these steps:
- Power On the Printer: Firstly, Plug it in and press the power button.
- Connect to Wi-Fi: Secondly, Use the touchscreen to access settings, select “Network Setup,” then “Wireless Settings.” Choose “Wireless Setup Wizard” and follow the prompts to connect to your Wi-Fi network.
Once your printer is connected, you’re ready to scan!
Scanning Documents: The Basics Scan to PDF
Scanning documents is straightforward with the HP 8020. You can use either the flatbed scanner or the automatic document feeder (ADF) for this task. Here’s how:
Using the Flatbed Scanner
- Firstly, Prepare Your Document: Place your document face down on the scanner glass. Align it with the guides on the edges.
- Secondly, Access the Home Screen: Tap on the home icon on your printer’s touchscreen.
- Thirdly, Select Scan: Choose “Scan” from the menu options.
- Then, Choose Destination: Select “Scan to Computer” or “Scan to Email,” depending on your needs.
Using the Automatic Document Feeder (ADF)
If you have multiple pages, using the ADF is more efficient:
- Firstly, Load Your Documents: Place them face up in the ADF tray.
- Secondly, Follow Steps 2-4 Above: Access the home screen, select “Scan,” and choose your destination.
Scan to PDF
Now that you know how to place your documents, let’s focus on scanning them directly to PDF format.
Step-by-Step Guide Scan to PDF
- Firstly, Select Scan Options: After choosing “Scan,” tap on “Settings” or “Scan Options.”
- Secondly, Choose File Type: Select “PDF” as your desired file format.
- Thirdly, Adjust Settings (Optional): You can change resolution and color settings if needed.
- Finally, Start Scanning: Tap “Scan” to begin. The printer will automatically save your document as a PDF file.
Saving Your PDF
After scanning, you’ll need to save your PDF file:
- Firstly, Select Save Location: Choose where you want to save it—on your computer, cloud storage, or email.
- Secondly, Name Your File: Give it a relevant name for easy retrieval later.
- Then, Confirm Save: Tap “OK” or “Save” to finalize.
Scan to PDF Multiple Pages
If you’re scanning a multi-page document, the HP 8020 can handle this efficiently:
- Load All Pages in ADF: Place all pages face up in the automatic document feeder.
- Follow Previous Steps: Select “PDF” and adjust settings as needed.
- Start Scanning: The printer will scan each page in sequence and compile them into one PDF file.
Using HP Smart App for Scanning
The HP Smart app enhances your scanning experience by providing additional features and flexibility.
Downloading the App for Scan to PDF
- For Windows/Mac: Visit the HP website or app store for your operating system and download HP Smart.
- For Mobile Devices: Download from Google Play Store or Apple App Store.
Scanning with HP Smart
- Open HP Smart App: Launch the app on your device.
- Select Your Printer: Ensure it recognizes your HP OfficeJet Pro 8020.
- Choose Scan Option: Tap on “Scan” from the home screen.
- Select PDF Format: Choose “PDF” as your file type.
- Adjust Settings (if necessary): Modify resolution and color settings as needed.
- Start Scanning: Tap “Scan” and follow the prompts to save.
Troubleshooting Common Issues of Scan to PDF
Even with a reliable printer like the HP 8020, issues may arise during scanning. Additionally, Here are some common problems and their solutions:
Printer Not Detected
If your computer doesn’t recognize the printer:
- Ensure both devices are connected to the same Wi-Fi network.
- Restart both devices and try again.
Poor Scan Quality
If scans appear blurry or faded:
- Check if there’s dirt or smudges on the scanner glass; clean it gently with a soft cloth.
- Adjust resolution settings before scanning.
Document Jams in ADF
If pages get stuck in the automatic document feeder:
- Remove any jammed paper carefully without tearing it.
- Ensure that pages are loaded correctly in ADF without exceeding capacity.
Tips for Effective Scanning
To get the best results when scanning documents, consider these tips:
- Use High-Quality Paper: Ensure documents are clean and free from wrinkles for optimal scans.
- Adjust Settings Based on Document Type:
- For text documents, use black-and-white mode for clarity.
- For images or photos, choose color mode with higher resolution for better quality.
- Regular Maintenance:
- Clean scanner glass regularly.
- Update printer firmware through HP Smart for improved performance.
- Organize Your Files After Scanning:
- Create folders on your computer or cloud storage for easy access later.
- Name files descriptively for quick retrieval.
Conclusion
Scanning documents to PDF using your HP OfficeJet Pro 8020 is a simple yet powerful feature that can enhance productivity at home or in the office. With its wireless capabilities and user-friendly interface, you can easily digitize important papers without hassle.
By following this guide, you’ll be well-equipped to make full use of your printer’s scanning features while avoiding common pitfalls along the way. Enjoy seamless scanning and keep your documents organized with ease!
