An avid gamer needs a properly synced Xbox 1 controller for an uninterrupted gaming experience. Whether you’re connecting a new controller or re-syncing an existing one, the process is straightforward. In this guide, we’ll walk you through how to sync your Xbox 1 controller step by step. Let’s dive in!
Understanding Your Controller
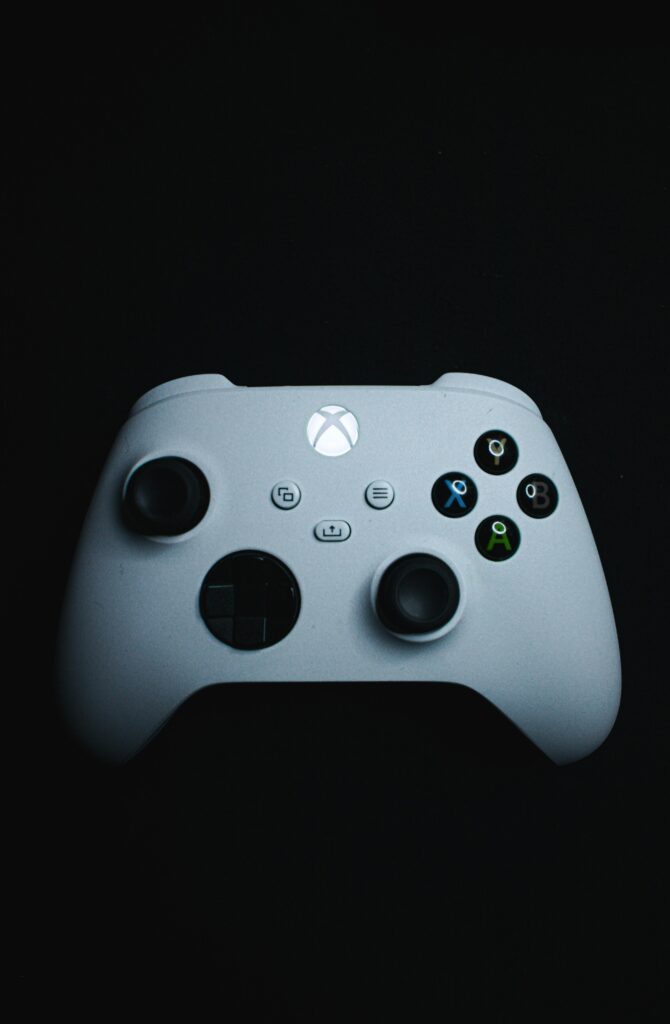
Before diving into the syncing process, it’s important to understand the basics of your Xbox 1 controller. The controller features several buttons, including the Xbox button, which is used to power the controller and access the guide. Additionally, there’s a sync button located on the top of the controller, which is crucial for connecting it to your console.
Step 1: Power On Your Console
First, power on your Xbox One console. You can do this by pressing the power button on the front of the console or using an already synced controller. Once your console is on, you’re ready to sync your controller.
Step 2: Prepare Your Xbox 1 controller
Next, check that your Xbox One controller has fresh batteries or is fully charged. If you use a rechargeable battery pack, plug it in and let it charge for a bit if needed. Once your controller is ready, press and hold the Xbox button until it lights up. This action indicates that the controller powers on but is not yet connected
Step 3: Syncing Wirelessly
Now comes the fun part—syncing your controller wirelessly!
- Locate the Sync Button: On your Xbox One console, find the sync button. For the original Xbox One, it’s located on the side of the console. For Xbox One S and Xbox One X models, it’s right below the power button on the front.
- Press and Hold: Press and hold the sync button on your console until you see the power light start to flash.
- Sync Your Controller: While keeping an eye on the console, press and hold the sync button on top of your controller for a few seconds until its light starts flashing as well.
- Wait for Connection: After a few moments, both lights should stabilize and glow solidly. This means your console now syncs with your controller.
Step 4: Syncing with a USB Cable (If Needed)
If you encounter any issues while trying to sync wirelessly, don’t worry! You can always connect your controller using a USB cable.
- Get a Micro USB Cable: Use a micro USB cable (the same type used for many smartphones).
- Connect to Console: Plug one end into your Xbox One console and the other end into your controller.
- Power On: Press the Xbox button on your controller. The light should turn solid after a few seconds, indicating that it is now connected.
- Disconnect and Go Wireless: Once connected via USB, you can unplug the cable and use your controller wirelessly.
Step 5: Troubleshooting Common Issues Xbox 1 controller
Sometimes things don’t go as planned. Here are some common issues and quick fixes:
- Controller Not Responding: If your controller doesn’t sync after following these steps, try replacing the batteries or charging it fully.
- Flashing Lights: If both lights continue to flash without syncing, restart your console and try again.
- Multiple Controllers: If you have multiple controllers, make sure only one is trying to sync at a time to avoid confusion.
Final Thoughts about Xbox 1 controller
Syncing your Xbox One controller is an essential skill for any gamer. With just a few simple steps, you can ensure that you’re ready for action without any interruptions. knowing how to sync your controller will enhance your gaming experience. Now that you know how to sync your Xbox One controller like a pro, get back in the game and enjoy those epic moments! Happy gaming!